A useful exhibition display brief gives the supplier one consistent description of the space, the activity, the graphics and the delivery requirement. Start with the organiser's floor plan, identify what the team needs to do on the stand and list the equipment already available. Then connect each requested display to its print face, quantity and required date.
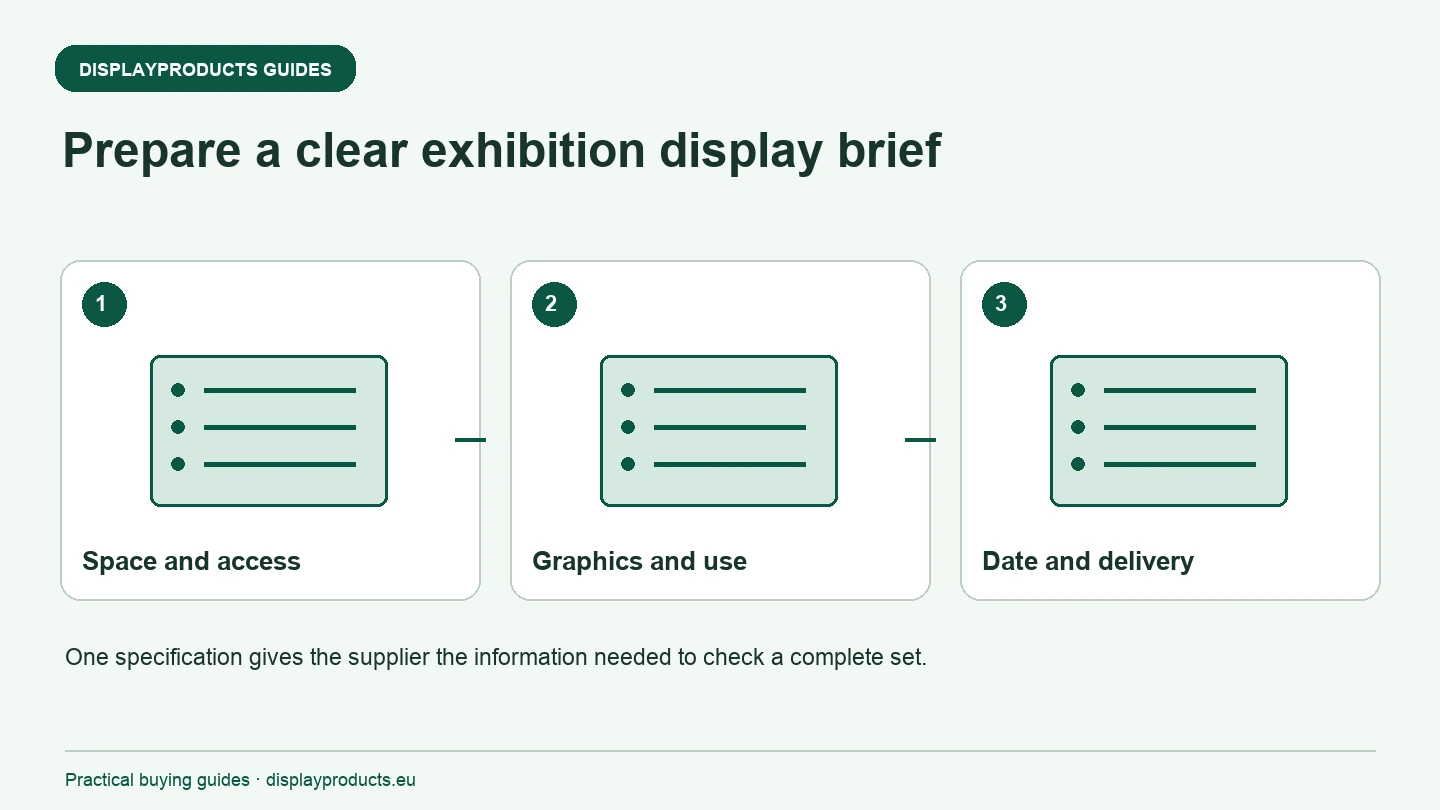
You do not need to choose every product before sending a brief. The purpose is to give enough information for a suitable complete set to be checked. A request for a 3 m wall without the plot, supports or transport constraints can leave important decisions unresolved.
Record the event and the permitted space
Include the event name, venue, event dates and the date the equipment must reach its receiving location. State the delivery country and whether that location is the venue, an office, an agent or another receiving point. Event opening and goods arrival are different dates; the installation team needs time and access to prepare the stand.
Attach the floor plan and record the plot dimensions, open sides and permitted height. Identify supplied partitions, furniture, electricity and other services. If the organiser restricts attachment, hanging or projecting parts, include that information. A supplier cannot check the footprint of a complete display from the nominal floor area alone.
Describe the job the stand must do
State the main activity: short conversations, sample display, product demonstration, meetings or reception. Record the number of staff and the equipment needing space. Include dimensions or photographs of samples, screens and other items that affect the layout.
Explain how visitors approach and what they should understand first. A single main message often needs a different graphic arrangement from several product categories. The supplier can help compare a backdrop, counter and supporting banner when the communication roles are clear. Use the 3×3 exhibition stand layout guide for examples of organising a small plot.
List the display components and existing equipment
Separate new purchases from hardware you want to reuse. For each existing item, send its model reference, dimensions and a photograph of the assembled unit or connection. State whether it has a suitable transport bag or case and whether it needs a replacement graphic.
For the proposed new set, list the functions required even if the model has not been chosen. A main graphic, interaction point, brochure position and a supporting offer can then be matched to available products. Tension Fabric Exhibition Stands, Tension Fabric Walls and Fabric Counters are different starting points for those functions.
Connect the graphics to the right faces
Identify how many printed faces are needed and whether different messages or languages are required. Keep the artwork identifier with its component and face. For connected panels, show their order and orientation on the layout. If another team supplies the artwork, identify who receives templates and who approves production files.
State what files are available: editable layout, vector logo, photographs and brand-colour references. Ask for product-specific templates before final artwork is prepared. The large-format artwork checklist helps distinguish a visual preview from a production-ready file.
| Brief section | Information to include |
|---|---|
| Event | Venue, dates, receiving location and delivery country |
| Space | Dimensions, open sides, permitted height and supplied services |
| Activity | Visitors, staff, samples, demonstration or meeting needs |
| Displays | New functions and identified equipment to reuse |
| Graphics | Faces, languages, templates and approval responsibility |
| Logistics | Packed-size limits, carrying route and installation team |
| Order scope | Quantities, budget basis and required quotation components |
Include transport and setup constraints
Describe the vehicle, case-size restrictions and the access route from unloading to the stand. Note stairs, limited loading access and other conditions affecting the equipment choice. State who installs the system and whether that team has used the proposed type before.
Ask the supplier to identify the supplied packing, separate accessories and model instructions. Do not assume that printing, ballast, lighting, installation or shipment to multiple locations is included. If you need one of those services, state it so availability and scope can be confirmed in the offer.
Make the quotation easy to compare
Use the same specification when asking for alternative solutions. Request a component list showing frame, initial graphics, supports, accessories and transport. If the budget is stated, identify its basis and whether it is intended to cover the complete set or only some components.
For recurring events, include the expected plot changes and future graphic updates. This helps compare retaining hardware with buying separate displays for each campaign. Confirm the delivery and artwork-approval dates for the actual order instead of copying a general dispatch claim into the project schedule.
Keep a single approved version
Give the brief a version reference and date. Keep the floor plan, graphics list and agreed component scope together. When a detail changes, identify the affected part rather than leaving the supplier to reconcile several inconsistent attachments.
Before production, review the actual model, assembled dimensions, print faces and arrival requirement against the approved brief. The same information then becomes the team's unpacking and setup checklist. Send the completed brief through the contact page to discuss a matched set, or browse Exhibition Stands to identify the current system families.
Working checklist
Use these headings to check your brief. Record the actual product reference, quantities, approved file version and receiving date beside the relevant point.
- Record the event and the permitted space
- Describe the job the stand must do
- List the display components and existing equipment
- Connect the graphics to the right faces
- Include transport and setup constraints
- Make the quotation easy to compare
- Keep a single approved version
Plain text checklist for your project notes. The full guidance remains readable on this page.