Prepare large-format artwork against the selected product's production template. Confirm the finished dimensions, scale, print requirements and finishing before exporting a file. A correctly named PDF is not automatically ready to print, and a high-resolution logo cannot compensate for using the wrong panel size or placing essential information inside a finishing area.
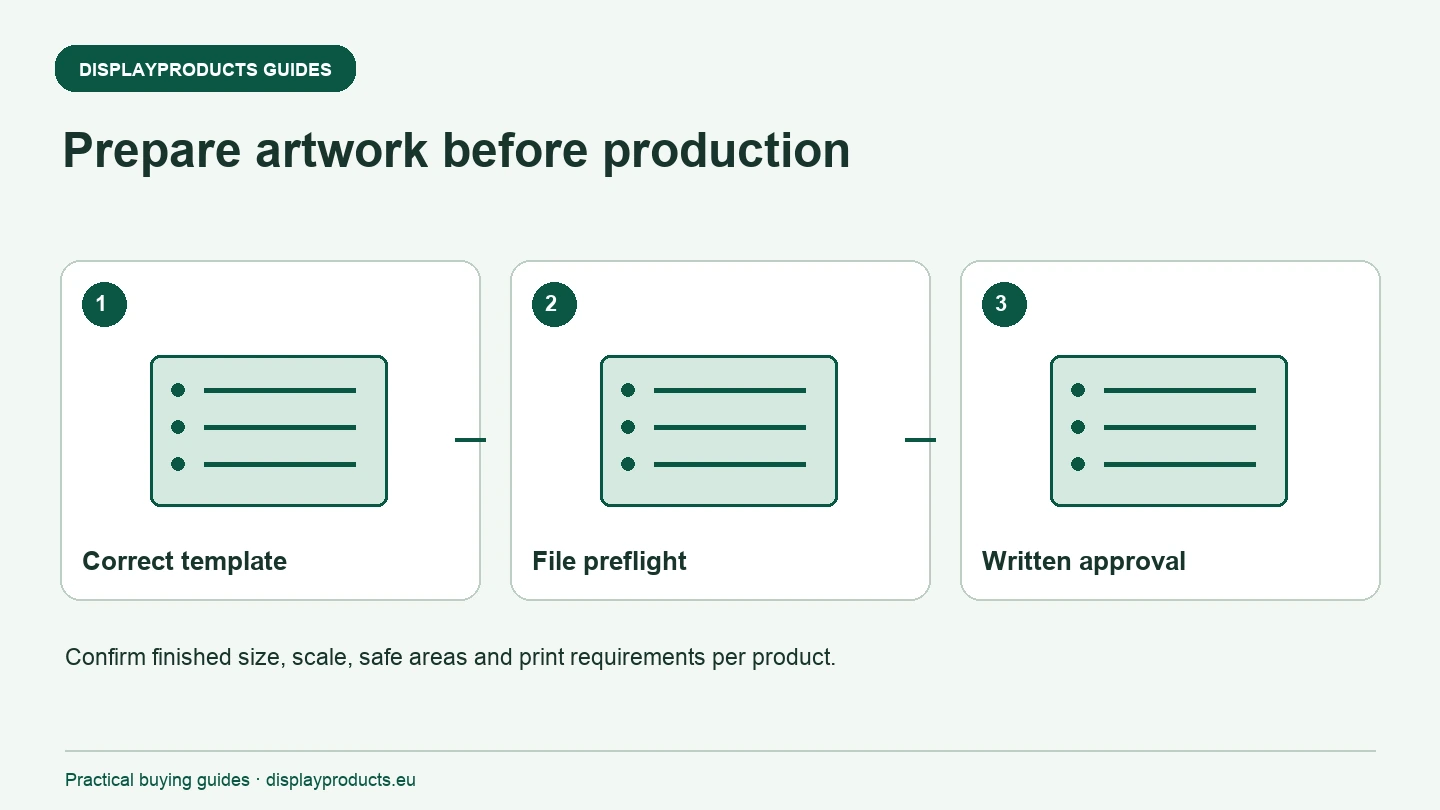
Use this checklist for roll-ups, fabric walls and lightbox graphics. Each system has its own requirements. The current product specification and supplied template take precedence over a generic design rule, especially for edges, seams, sleeves and replaceable textile panels.
Identify the exact product and print face
Record the product model, chosen variant and the graphic faces required. A wall, counter and roll-up in the same event kit do not necessarily use the same material or file template. If several panels connect, identify their positions and orientation before designing the complete image.
Ask for the production template if you do not already have it. Keep its version with the artwork. For a replacement graphic, identify the existing frame and check whether its specification matches the current model. Measuring only the visible face can miss material hidden in a cassette, sleeve or frame channel.
Check finished size and artwork scale
Record both the required finished graphic size and the scale used in the file. A design prepared at 1:10 can be suitable only when the supplier accepts that scale and the resolution is correct for the final output. Do not label a file 1:1 simply because its proportions look right on screen.
Several current DisplayProducts printed-display listings specify 1:1 artwork, CMYK, a minimum resolution of 150 dpi and fonts converted to outlines, with TIFF, JPG or PDF files. Check the selected variant's actual requirements rather than applying those values to every product. A supplier may also provide a different production requirement for the material or finishing you choose.
Keep important content inside the permitted area
Use the template to locate trim edges, seams, folded sections and areas hidden by hardware. Place logos, contact details and important text within the specified safe area. Continue the background where the template requires bleed or another finishing allowance. Do not add an arbitrary millimetre allowance because it worked for a different print job.
On a roll-up, part of the graphic may be concealed by the base or top attachment. On a fabric panel, the finishing and tension can affect the edge region. A design that looks balanced in a flat preview may therefore display differently when installed. Ask the supplier to clarify any template line you cannot identify before approving the file.
Check images logos and type at final size
Use the best available source logo and avoid enlarging a small preview image into a large print. Vector artwork is useful for logos and line work because those shapes do not depend on a fixed pixel count in the same way as a photograph. A file containing a raster image does not become vector artwork simply because it is saved as a PDF.
Check the effective resolution at the intended output size. Review text and fine detail from the expected viewing distance as well as close up. Keep fonts embedded or outlined according to the supplier's requirements. Preserve an editable source copy separately, so a later correction does not depend on editing an outlined production file.
Confirm colour and the intended lighting
Use the requested colour workflow and identify any brand colours that need particular attention. A screen preview is not a physical print proof. If matching an existing display is important, discuss a suitable colour-approval process before producing a full set of graphics.
Backlit graphics need checking under their intended lighting. A fabric selected for an ordinary wall may not behave like a suitable lightbox fabric, and colour can appear different when illuminated. Confirm the substrate and print specification together. Do not treat the frame dimensions alone as enough information to order a replacement lightbox panel.
| Preflight item | Record before approval |
|---|---|
| Product | Model, variant and face or panel identifier |
| Dimensions | Finished size, file scale and template version |
| Finishing | Bleed, safe area, seams and attachment allowance |
| Images | Effective resolution at final output size |
| Type | Supplier-approved font handling and a retained source file |
| Colour | Requested colour workflow and any agreed proof |
| Version | Exact approved filename and approval date |
Approve the file that will actually be produced
Give the final file a clear product, panel and version reference. For a multi-item kit, keep one list showing which file belongs to each component. Review spelling, dates, phone numbers, URLs and orientation. If a correction changes only one panel, identify that change explicitly rather than sending a mixed folder of old and new files.
Compare the requirements on Premium Roll Up Banner Stands, Tension Fabric Walls and SEG Lightboxes before treating them as a shared print specification. Send the approved file list with the order and request confirmation of any production issue before printing starts.
Keep the approved preview, production files and template references together for repeat orders. For wider material choices, use the material and fabric guide; for organising the complete event kit, use the exhibition display brief checklist.
Working checklist
Use these headings to check your brief. Record the actual product reference, quantities, approved file version and receiving date beside the relevant point.
- Identify the exact product and print face
- Check finished size and artwork scale
- Keep important content inside the permitted area
- Check images logos and type at final size
- Confirm colour and the intended lighting
- Approve the file that will actually be produced
Plain text checklist for your project notes. The full guidance remains readable on this page.