A printed POS rollout needs one reliable specification connecting each store, display format, quantity and approved artwork version. Begin with a location matrix, confirm the hardware already in place and approve a sample specification before multiplying the order. This helps a retail team avoid sending the right message in the wrong size or delivering a complete campaign with missing fittings.
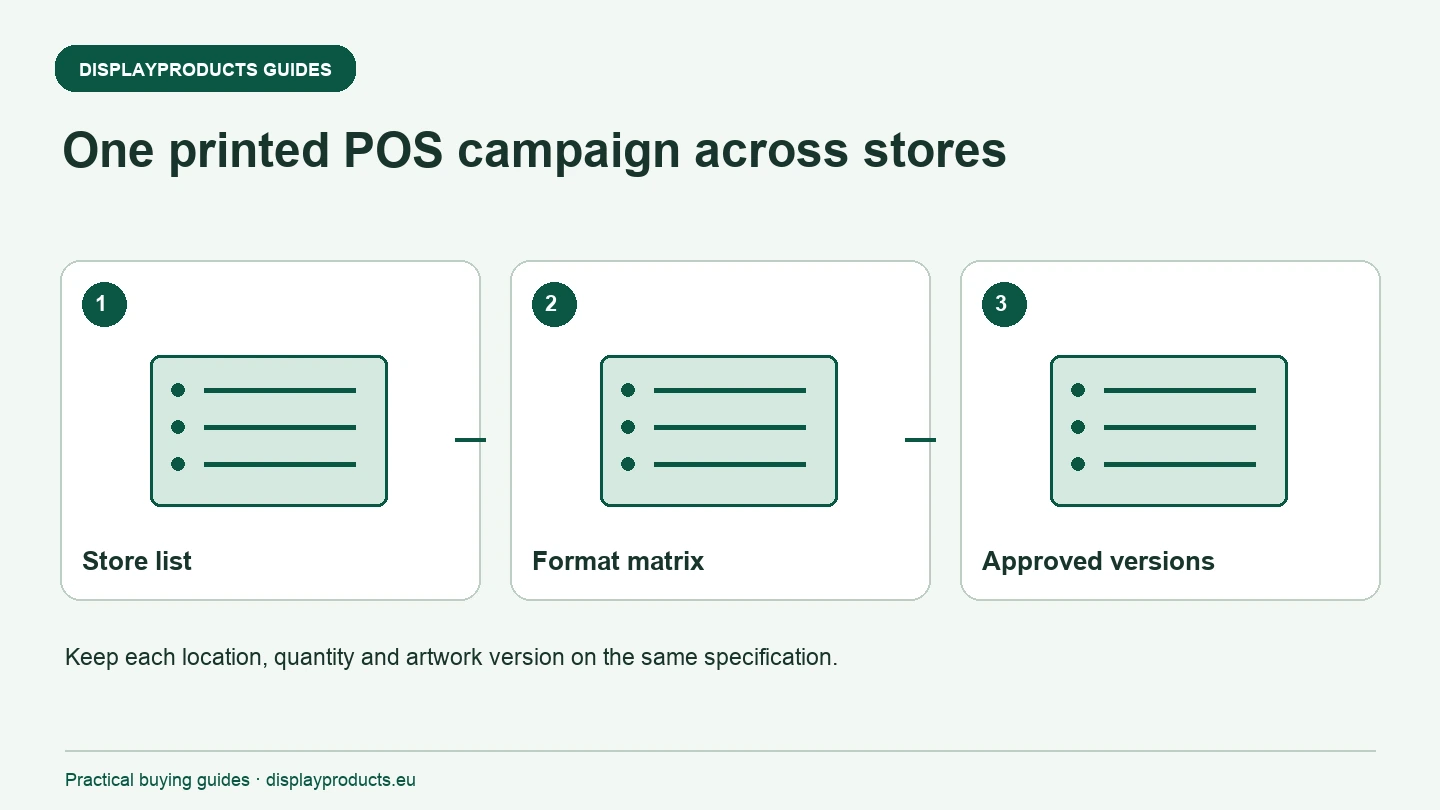
This guide covers printed displays, poster frames and related POS hardware. It does not describe digital-screen software. Dispatch to several locations, installation and other services must be agreed in the quotation rather than assumed from the campaign size.
Build the store and format matrix
Give every location a stable store code. Record the contact responsible for checking the display information and list the positions where the campaign will appear. A front entrance, window, queue and shelf edge may each need a different format. Do not reduce the matrix to a single total if the stores use different fixtures.
For each position, distinguish the visible print size, finished print size and complete hardware dimensions. Add portrait or landscape orientation, the number of faces and the way the message is changed. Where hardware already exists, record its model or photograph the frame and attachment. An A1 label can describe a print format, but it does not establish every requirement for a replacement graphic.
Choose how the campaign information changes
Use the campaign schedule to compare the fixtures. A snap frame can suit frequent poster replacement. A lockable case may be useful where access to the print needs controlling. A sign pocket can support regularly changed local information on a suitable surface. The best choice depends on the position and the person doing the replacement, not just the number of items ordered.
Snap Frames 25 mm provide several sizes and finishes on one product page. A-Boards 25 mm serve a different position and handling routine. For an illuminated indoor format, compare LED Snap Frames 30mm and confirm the print media and electricity arrangement before approving the graphics.
Separate shared artwork from local versions
Identify which elements are identical across stores and which change. Local opening hours, prices, language and contact information should have named variants. Give each production file a version identifier and link it to the store matrix. A folder containing several files called final is not an approval system.
Make one person responsible for approving the shared design and identify who approves the local information. Record approval against the exact version used for production. If a late change applies to only some stores, list those stores and their replacement version. Keep the unchanged locations on their already approved files.
| Store code | Position | Format and orientation | Quantity | Artwork version |
|---|---|---|---|---|
| Your store code | Entrance | Confirmed frame format | Number of faces | Approved file reference |
| Your store code | Window | Confirmed hanging format | Number of prints | Approved file reference |
| Your store code | Shelf area | Confirmed sign dimensions | Number of positions | Approved file reference |
Confirm the complete supply list
For each fixture, state whether the order includes hardware, printed graphics, covers, fixing parts or another component. Identify what the store will reuse. Ask the supplier to clarify any photograph showing accessories that are not part of the selected item. Printing and hardware can follow different specifications and production steps.
Count by the installation unit, not just the carton. A double-sided sign may require two graphics. A repeated window setup may require several matching supports. Keep spare prints and replacement components on separate lines so the deployment quantity is clear. The supplier should confirm packing and any location-specific labelling that has been agreed.
Set the approval and delivery sequence
Start from the campaign opening date and work backwards through arrival, unpacking, installation, production and artwork approval. Ask for confirmed dates for the actual order. Do not treat a website stock figure as a promise that every location will be ready on the same day.
If goods are sent to one central location, confirm how they will be divided afterwards. If you need separate deliveries, ask whether that service is available and how address changes are handled. Include delivery-country and access information in the brief. Make the receiving team aware of any component that arrives separately.
Check the first installation and preserve the result
Before repeating the rollout, check a representative store specification and photograph the completed display. Confirm that the poster fits, the visible message is correct, the chosen position remains usable and the local team can change the print. Keep any agreed corrections with the matrix rather than in an isolated email.
For the next campaign, reuse the fixture references and update only the fields that change. Record damaged or missing hardware separately from new print requirements. This makes a repeat order easier to check and avoids replacing useful hardware simply because the campaign artwork has changed.
Send the store matrix, existing fixture details, artwork variants, quantities and campaign date when requesting an offer. Browse Signage and POS to match the positions to available systems, and use the printed retail display specification guide to organise the buying decision.
Working checklist
Use these headings to check your brief. Record the actual product reference, quantities, approved file version and receiving date beside the relevant point.
- Build the store and format matrix
- Choose how the campaign information changes
- Separate shared artwork from local versions
- Confirm the complete supply list
- Set the approval and delivery sequence
- Check the first installation and preserve the result
Plain text checklist for your project notes. The full guidance remains readable on this page.