Install a SEG graphic only after confirming that the panel and frame are a matched specification. Identify the model, orient the graphic and follow the supplied frame instructions. For systems that specify seating the corners first, fit those points gently before working along the edges. Do not stretch, trim or force a panel to compensate for an unidentified frame or incorrect edging.
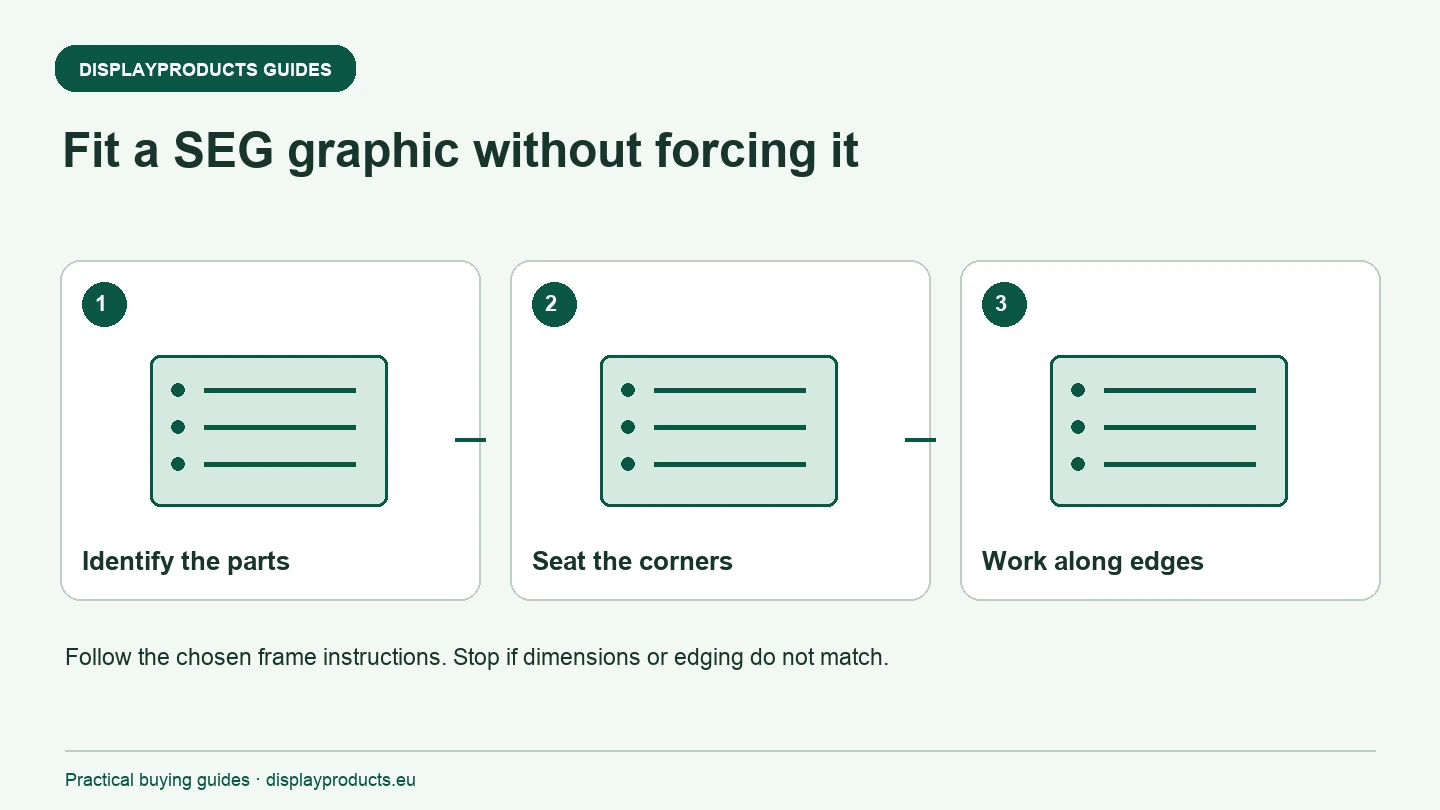
This is a preparation and checking guide for edge-mounted textile graphics. The selected manufacturer's assembly and fitting instructions govern the actual job. A large display, illuminated frame or unfamiliar installation may require a different handling arrangement from the illustration.
Assemble and identify the frame
Check the frame reference and complete the assembly according to its instructions before fitting the print. Inspect the profile, corners and channel for visible damage or contamination. Confirm that the frame is supported in the intended installation arrangement and that the team has enough space to handle the graphic without placing it on a dirty surface.
For a lightbox, follow the electrical and assembly instructions for the selected system. Do not improvise work on lighting or electrical components. Keep the power connection and cable route appropriate for the location. Fitting a textile panel is not a reason to modify the frame or its electrical equipment.
Confirm the panel and its orientation
Compare the graphic identifier, finished size and intended face with the frame specification. Check whether the image has a top, bottom and a particular side. On a two-sided system, identify the panel belonging to each face before installation. A file or packing label should connect the physical panel to the approved artwork.
Inspect the edge strip and stitching. Note any visible damage before continuing. If the graphic was made for another profile or the panel dimensions cannot be confirmed, pause and check the order details. Similar finished dimensions do not prove that two textile panels use the same allowance, strip or installation method.
Seat the initial points without pulling the panel out of shape
Use the order specified for the frame. Many edge-mounted systems begin with the corners or marked reference points, followed by the remaining edges. Where that is the supplied method, gently seat the identified points with the strip aligned to the channel. Keep the graphic orientation correct as the panel is brought into position.
Do not push a loose fold of fabric into the channel in place of the edging or use an improvised sharp tool to force the strip. If the first points do not sit as expected, check the profile and panel specification. Pulling harder may conceal the real mismatch while damaging the material or stitching.
Work along the edges using the specified method
After the reference points are seated, continue along the edges in the order indicated by the instructions. Support the panel while fitting it, and avoid concentrating all movement on a small section of the print. Check that the edging enters the channel consistently rather than leaving one area partly fitted while another is forced into place.
The exact handling depends on the panel and system. If a face is unusually large, organise the number of people required to support it. Do not assume that the display's marketing description establishes the crew or setup time for every graphic size. The goal is a correctly seated panel, not the quickest possible fitting attempt.
| Checkpoint | What to verify |
|---|---|
| Frame | Correct model, assembled configuration and usable channel |
| Panel | Correct face, orientation, dimensions and edging |
| Initial fitting | Reference points seated according to instructions |
| Edges | Consistent fitting without improvised force |
| Finished display | Message alignment, complete seating and model-specific checks |
Diagnose a fit problem before changing anything
If the panel appears loose, uneven or too tight, first confirm that the whole frame is assembled correctly and the panel has the right orientation. Inspect whether the edging is seated consistently. Then compare the actual panel and edge specification with the order information.
Do not assume that every wrinkle is solved by stretching or every loose edge by adding a thicker strip. Panel dimensions, textile behaviour, sewing and frame geometry can all affect the result. Take photographs of the complete display and close details of the channel, edging and affected area. Share those together with the frame and panel references when requesting help.
Remove and store the panel appropriately
Use the removal method indicated for the system. Keep the edging and stitched perimeter supported while the panel comes out of the frame. Avoid pulling on printed fabric with a sharp object or packing a wet or contaminated graphic with clean components.
Follow the textile's care and packing instructions. Label the panel with its model, face and artwork version so the next installer can identify it. Store the frame parts, lighting components and graphics as specified, keeping missing or damaged parts on a separate check list before the next event.
For complete systems, compare NEO SEG Fabric Wall Systems, SEG Lightboxes and ILUMA SEG Fabric Wall Systems. Confirm the instructions for the exact selected model. The keder width guide explains why edge-strip dimensions must be checked separately from the nominal display size.