Choose banner and flag size by the available space, the complete assembled display and the message people need to read. Check the viewing position and the physical limits first. Then use the selected product's actual dimensions and print template. A larger nominal graphic can create a less usable setup if its support, pole or base does not fit the location.
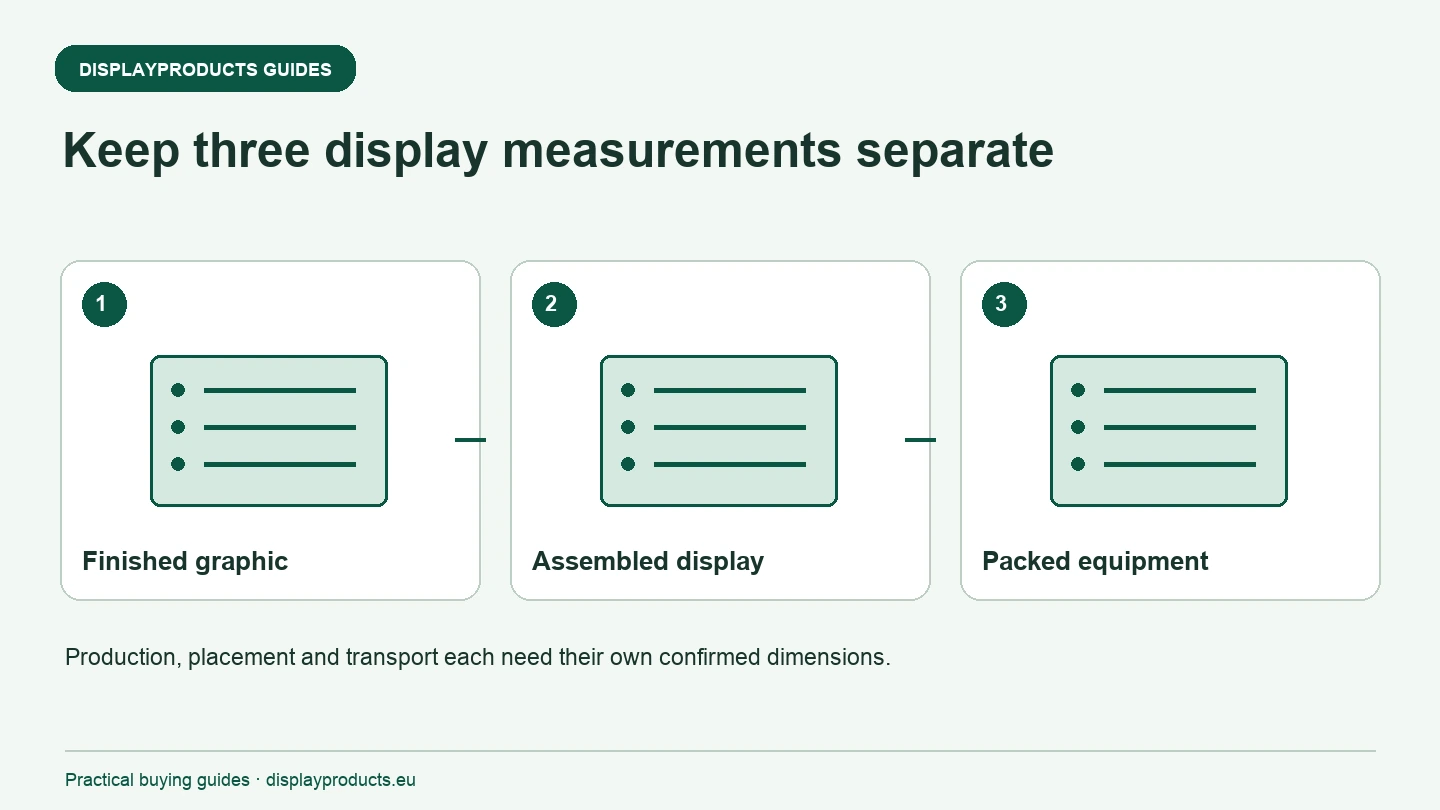
Keep three measurements separate: the finished graphic, the assembled display and the packed equipment. They answer different questions. Production needs the first, the layout needs the second and the transport team needs the third.
Begin with the viewing position
Identify where a visitor first sees the message and where they can stop to read more. A banner beside a reception point can support a different amount of information from one intended to attract attention across a hall. Test the actual design from the expected viewing position rather than applying one fixed text-size rule to every display.
Use a clear main message, readable contrast and a hierarchy that fits the task. Keep essential information out of areas concealed by equipment or finishing. If a graphic will be photographed, review the intended camera position as well as the physical visitor route.
Check roll-up width and complete height
The Premium Roll Up Banner Stands listing has several model and width options. Check the actual selected combination, not a typical banner dimension found elsewhere. The Budget Roll Up Banner Stands range provides another set of options whose specification needs its own review.
Confirm the assembled height, base depth and required graphic dimensions. Material may be concealed by the base or attachment, so visible height is not automatically finished print height. Keep the supplied template with the chosen model and confirm the packed dimensions where the display must travel in a particular vehicle or case.
Distinguish flag graphic size from pole height
Flag Poles lists several models and heights. The pole's stated height does not, by itself, describe the printed flag's complete outline or its position above the ground. Check the actual template, assembled arrangement and whether the chosen shape matches the pole.
Include overhead space, nearby structures and the permitted installation position. For the base, use the selected system's connection and ballast requirements. A taller pole or a larger graphic can change the complete setup; do not choose a base only by the empty hardware photograph. The flag base guide helps prepare the surface and connection specification.
Fit backwalls to the real footprint
Tension Fabric Walls includes straight and shaped variants. A curve or other form may use floor space differently from a straight wall. Draw the assembled footprint, supports and people using the stand before selecting the width.
For connected exhibition systems, identify the proposed configuration and each printed face. A plot with a nominal 3 m side does not establish that every 3 m display will fit inside it. Feet, profiles and other components can extend beyond the visible graphic. The 3×3 exhibition stand layout guide illustrates how to account for the complete arrangement.
| Measurement | Used for | Common confusion to avoid |
|---|---|---|
| Finished graphic dimensions | Print production and finishing | Measuring only the visible area |
| Assembled width height and depth | Site layout and clearance | Ignoring feet, base or profile |
| Pole and flag dimensions | Matching the flag system | Treating pole height as the graphic template |
| Packed dimensions | Vehicle, case and storage | Measuring only the main frame |
Match poster formats and orientation
For poster fixtures, identify the required print format and whether it is portrait or landscape. A and B formats are different dimensions. Do not approve an artwork file against a description such as large poster without confirming the actual product format.
Record both the print size and outside fixture size. The print must fit the frame or cover arrangement, while the complete fixture must fit its installed position. In a multi-store campaign, keep each store's format and orientation on the same matrix as its artwork version.
Use the production template for edges and hidden areas
Once the hardware is selected, use its template to identify safe areas and finishing. A textile skin, edge-mounted graphic and roll-up sheet have different requirements. Do not add a generic bleed or seam allowance to every file or assume a replacement print can be ordered from the overall frame size alone.
If the existing system is unidentified, send its model reference, photographs and a labelled measurement. Include the graphic attachment and any original template available. The supplier can then help check the dimension needed for production rather than infer it from an ambiguous width and height.
Prepare a size specification the team can use
Record the product, variant, graphic faces, assembled footprint, packed dimensions and template version. Add the available space, viewing position, quantities and required arrival date. The artwork checklist covers the file review after these dimensions are confirmed.
For a recommendation, share the layout and the job the message needs to perform. Browse Roll Ups or Flags for the current families. The final order should connect the chosen size to the actual frame, graphic and installation arrangement.