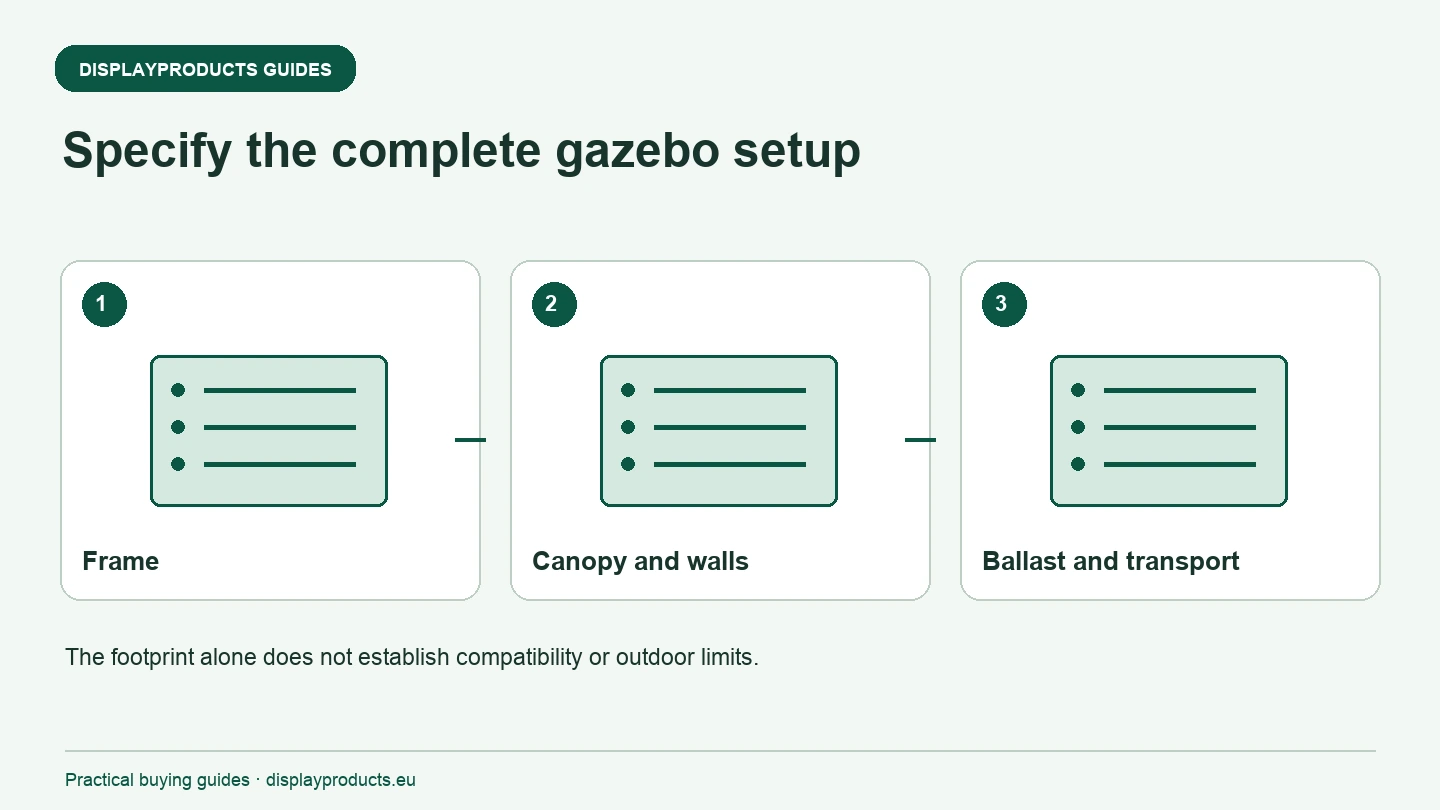
Choose an event gazebo frame by the way it will be transported, assembled, stored and used. Footprint matters, but two frames with the same nominal size may use different leg profiles, joints and canopy attachments. A useful specification covers the complete setup: frame, roof, walls, ballast, transport and the instructions that apply to the selected model.
For repeated events, also consider replacement parts and campaign changes. Keeping usable hardware while replacing a correctly matched canopy can make sense. It only works when the roof, fixing points and frame are identified accurately; a generic size label is not sufficient.
Describe the event routine
Start with the number of events, who carries the kit and the journey from the vehicle to the pitch. Note stairs, long access routes and any limit on the size of a case or bag. Record how many people will assemble the frame and whether there is space to open it according to its instructions. Ask for packed dimensions and actual component weights for the model being quoted.
A kit that travels in a dedicated van has different priorities from one carried by a small team. Do not choose a frame solely because its marketing description says portable. Consider the roof, walls and ballast as well as the bare frame. The heaviest and most awkward items may be outside the photograph of the folded structure.
Compare steel and aluminium using the actual model data
Steel and aluminium frame families are available in the Gazebo Frames and Plain Canopies range. Compare the selected variants rather than assuming that material alone determines strength, carrying weight or outdoor suitability. Profiles, connections and the permitted installation arrangement also matter.
Use a quotation matrix to compare assembled footprint, packed dimensions, component weight, supplied bag, spare-part availability and canopy compatibility. If a measurement is missing, request it. Avoid turning a material preference into an unsupported promise about wind resistance or the number of seasons the gazebo will last.
Distinguish hardware from a branded gazebo package
Some orders are for a frame or a plain canopy. Others include printed roofs and walls. Make the scope explicit on the specification, so a buyer comparing totals knows whether printing, finishing and the required fittings are included. A photograph with a roof does not necessarily mean that every roof shown is supplied with the selected frame variant.
Aluminium Gazebo Tents are a separate starting point for discussing branded event setups. Confirm the chosen model, size and printed components. When upgrading an existing frame, identify it before commissioning a replacement roof. The visible width of the canopy does not describe all attachment and finishing requirements.
Plan walls around the activity
A gazebo used for a welcome point needs a different layout from one containing stock or a product demonstration. Mark which sides remain open, where staff work and how visitors approach. Roof and wall artwork should follow that arrangement. A wall carrying the main message is of little use if it faces the storage area or is covered by equipment.
Wall selection can also affect the installation conditions. Follow the selected model's guidance for the actual arrangement of roof and walls. Do not transfer a limit or fixing requirement from another model or assume that an open setup and an enclosed setup have identical requirements.
| Item | Detail to confirm |
|---|---|
| Frame | Model, footprint, packed dimensions and component weights |
| Roof | Compatible profile, attachment points and print scope |
| Walls | Number, positions, openings and installation requirements |
| Ballast | Type, fixing and requirements for the complete setup |
| Transport | Bag or case, separate components and loading plan |
Specify ballast and the site together
Gazebo Weights and Ballast includes different handling formats. Filled and solid weights have different transport implications. Ask which arrangement is required for the frame, site and wall configuration. Do not select a ballast amount from a general article or substitute a lighter item because it is easier to carry.
Describe the surface and whether ground fixings are permitted. Confirm who is responsible for installation, inspection and responding to changing conditions. Keep the applicable manufacturer instructions with the kit. The event organiser's requirements may add conditions that are not visible in a supplier photograph.
Make repeat orders identifiable
After approving the first kit, record the frame reference, canopy version, graphics files, supplied components and photographs of the assembled setup. Label bags and small parts so the same set can be checked before the next event. Note damaged components and address them before loading the kit again.
When branding changes, compare the condition of the existing frame with the cost and availability of compatible graphics. Check the new canopy specification instead of assuming that an old print file will fit every new roof. Preserve the approved template and write down any change to panels, openings or fittings.
Send us the event routine, required footprint, existing equipment details, roof and wall requirements, delivery country and date. For the current system families, browse Tents and Pop-up Gazebos. A complete component list makes the offer easier to review and gives the installation team a useful checklist.