Exhibition Planning Guides for Business Display Sets
Plan an exhibition display set around the actual floor plan, the activity on the stand and the people who will operate it. Start by recording the available space and open sides, then assign a job to the main wall, counter and supporting graphics. This helps compare complete usable sets instead of buying individual products that compete for the same area.
The guides here connect layout, display construction, artwork and ordering. They are intended for business exhibitors and agencies preparing a reviewable specification. The organiser's requirements and the selected products' instructions govern the final installation.
Begin with the plot and visitor route
Record dimensions, open sides, permitted height and anything the organiser supplies. Add the complete footprint of the proposed frames and supports, the positions where staff work and the equipment used for demonstrations. Graphic width alone does not show how much floor space the stand occupies.
Kasutage 3×3 näituseboksi paigutuse juhend to compare an inline, corner and demonstration arrangement. The illustrations show different planning choices. They are not installation drawings or a promise that any nominal 3 m frame fits every 3 m plot. Confirm real product dimensions and required clearances before approving the layout.
Give the displays separate communication roles
Choose the main message visitors should understand from the aisle. Put supporting detail where someone who has stopped can use it. A wall, counter and banner work together when each has a defined role; adding more graphics without that decision can make the offer harder to read.
See exhibition event ideas guide helps assign those roles. Pingekangast seinad is a starting point for a backdrop, while Kangast letid can support a conversation or a suitable demonstration. Check the selected versions' footprints and requirements against the actual activity.
Compare the construction behind the names
Roll-up, pull-up and pop-up are not equally precise descriptions of a structure. The banner-format comparison explains why the model and graphic fixing matter. A retractable banner and a frame-based fabric display may serve different roles even when their promotional names sound similar.
For a larger set, Pingul kangast näitusestendid provides configuration examples within one system. Identify the actual supplied parts, printed faces and connections. A gallery image is a starting point for the proposal, not proof that every illustrated configuration is included in one order.
Plan the whole event cycle
Include packed dimensions, transport, loading access and the people installing the kit. Identify any supports, lighting or other items carried separately. A convenient main frame may still be part of an awkward complete set, particularly when the venue route includes stairs or a long walk from unloading.
For repeat events, record the components and graphics you expect to retain. Keep model references, approved templates and photographs together. Use the ürituse maksumuse juhend to compare your own confirmed initial and later costs for the same event programme.
Prepare artwork after the system is identified
Give every print face a component and version reference. Confirm the production template, finished dimensions, fixing allowance and approval responsibility. A fabric skin, edge-mounted panel and retractable sheet are different specifications. The suureformaadiliste kunstiteoste kontrollnimekiri helps organise that review.
If a lightbox or another illuminated element is part of the proposal, confirm its graphic media and electrical arrangement. Keep those requirements with the layout so lighting is not added as an unexplained last-minute accessory. If the venue requires particular documentation, state that before production approval.
Send one consistent project brief
Kasutage Näituse väljapaneku lühike kontroll-leht to collect the plot, intended activity, existing equipment, graphics and delivery information. Identify whether the offer should include hardware, printing, supports, transport or any additional service. Request confirmation of the actual order's approval and arrival dates.
Sirvi Näituse stendid ja Advertising Walls and Backwalls for the product families. When you are ready, send your display project with the floor plan, quantities, event date and delivery country. A connected specification helps the supplier check the set and gives the installation team an understandable packing and setup list.
Juhendid teie järgmise otsuse tegemiseks
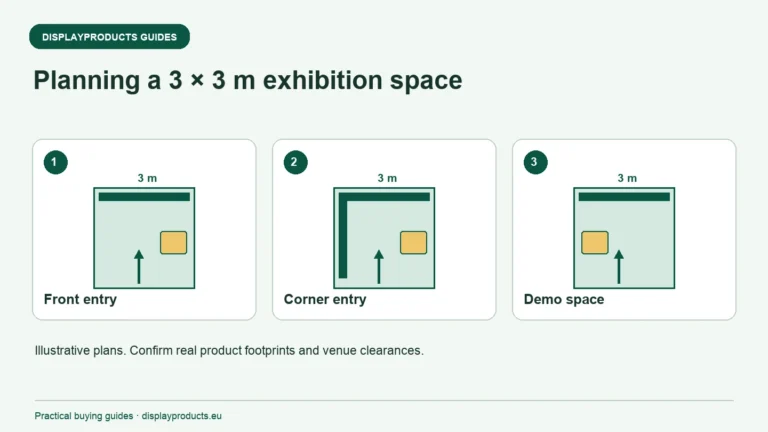
3×3 näituseboksi paigutus väikestele meeskondadele
3 × 3 m suurune näitusestend pakub üheksa ruutmeetrit pinda, kuid kasutatav pind sõltub avatud külgedest, stendi jalgade sügavusest ja tegevustest, mida on vaja mahutada.
Loe juhendit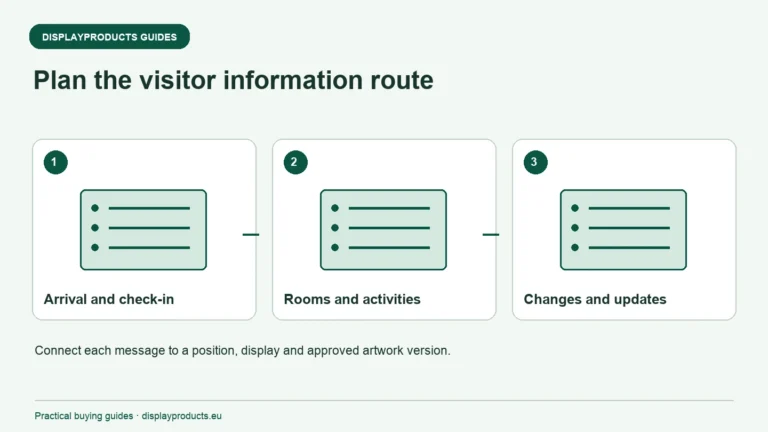
Ürituse brändingu kontroll-leht sissepääsude, väljapanekute ja teejuhiste jaoks
Planeeri ürituse bränding külastaja marsruudi järgi: toimumiskoha leidmine, sissepääsu äratundmine, registreerumine, õige ala leidmine ja edasiste sammude mõistmine. Määra igale väljapanekule sõnum ja asukoht sellel marsruudil.
Loe juhendit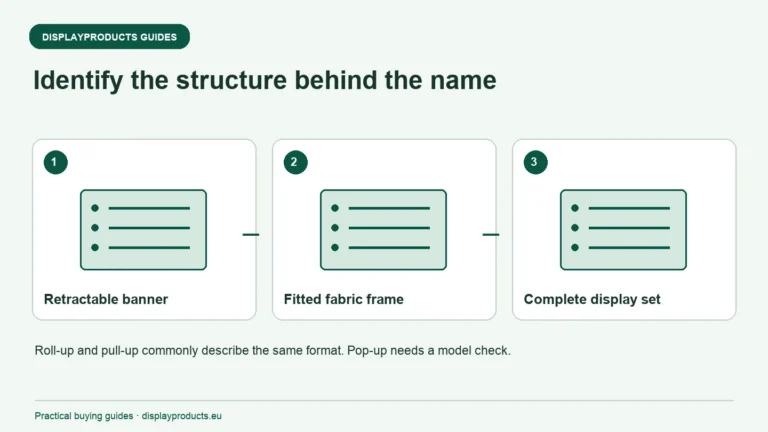
Pop-Up vs lõualuu bännerid vs Roll-Up bännerid
Pull-up ja roll-up kirjeldavad tavaliselt sama sissetõmmatava bänneri formaati: trükitud graafika tõstetakse alusele ja hoitakse tugiposti abil. Pop-up on vähem täpne. Seda saab vabalt kasutada kaasaskantava bänneri või muu raamipõhise väljapaneku jaoks.
Loe juhendit
Kuva trendid, mida enne järgmist kampaaniat hinnata
Väljapanekutrendide ülevaatamisel küsige, kas pakutud funktsioon aitab kaasa tegelikule üritusele või jaemüügikampaaniale. Kasulikud võivad olla vahetatavad graafikad, kohandatavad paigutused, valgustatud tekstiilid ja lingid digitaalsele sisule.
Loe juhendit
Näituseürituse ideed selge ja kasuliku stendi jaoks
Muutke näituseboksi kasulikuks, andes igale väljapanekule ja tegevusele ülesande. Põhigraafika peaks pakkumist selgitama, paigutus peaks külastajatele lähenemist võimaldama ja suhtluspunkt peaks vestlust toetama.
Loe juhendit
Kuidas valida oma ettevõtte jaoks õige ekraan
Valige stend selle ülesande, asukoha ja uuesti kasutamise viisi järgi. Alustage sõnumist ja saadaolevast ruumist ning seejärel võrrelge raami, graafikat, käsitsemis- ja paigaldusnõudeid tervikuna.
Loe juhendit