Plan event branding around the visitor's route: finding the venue, recognising the entrance, checking in, locating the right area and understanding what to do next. Assign each display a message and position on that route. A consistent visual style helps, but the signs also need to solve practical information problems.
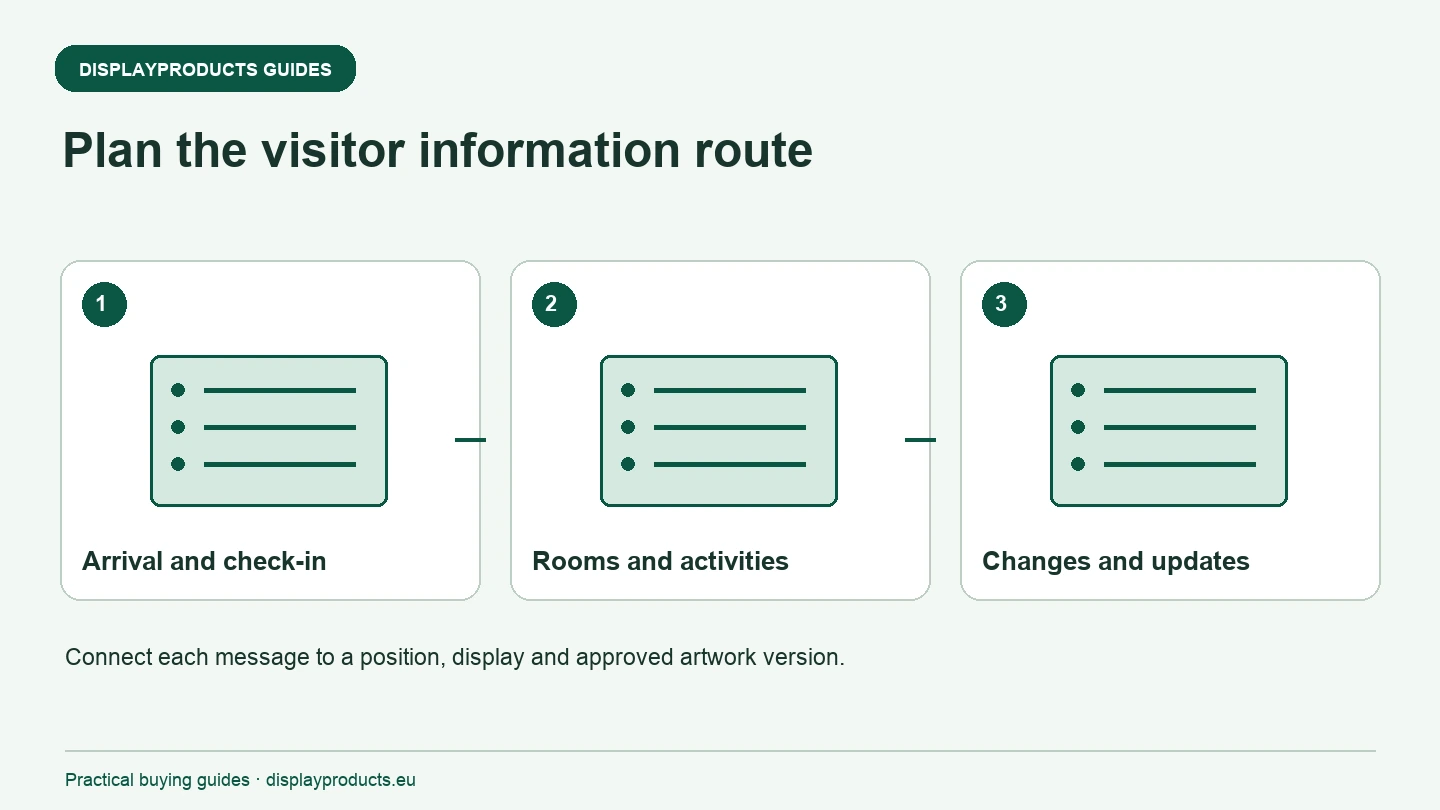
Use the site plan to connect physical displays, graphics and any attendee identification items. Keep these as separate product specifications even when they share the event artwork. The goal is a coordinated experience with clearly identified components and useful information at the right point.
Check the approach and entrance
Walk or review the route a first-time visitor will use. Identify where they need confirmation of the event name, direction and entrance. A sign beside the correct door may perform a different job from a flag marking the site from farther away.
For an outdoor marker, describe the surface and complete installation arrangement. mástiles de banderas and bases must be specified together. Use the guía de la base de la bandera to record the surface, connection and model requirements rather than assuming any available base fits the intended flag.
Give check-in a clear location and role
Position the reception point so visitors can identify it without blocking the route. Use a visible message for check-in and keep detailed instructions where a person who has stopped can read them. Include the queue and staff positions when drawing the display footprint.
Contadores de telas provides a starting point for an interaction surface with event graphics. Confirm the usable area and requirements for laptops, printed lists or other equipment. If an outdoor check-in needs a gazebo, specify the complete frame, roof, walls and ballast using the Guía para la estructura del cenador.
Map the information points inside the venue
List the rooms, activities and service points visitors need to find. Decide which information belongs on a directional sign and which needs a local notice or schedule. Keep room names and terms consistent across the site plan, printed programme and physical displays.
Do not use the main promotional graphic as a substitute for useful wayfinding. An attractive backwall cannot explain a room change if it contains only a logo. Check the placement and visible message from the route visitors actually follow, including people arriving after the event has already started.
Assign the main backdrops and photo positions
For a stage, presentation or photograph, identify the graphic faces, view and surrounding equipment. Paredes de tela tensada can provide a backdrop, while the selected plot and message may suit another system. Confirm the complete footprint, support arrangement and venue requirements before choosing the width.
Review the artwork from the intended camera and visitor positions. Important logos or information can be hidden by a lectern, furniture or the people in front of the display. A planned photograph and an empty mockup show different views, so check the actual use before approving production files.
| Visitor point | Información necesaria | Display specification |
|---|---|---|
| Arrival | Event identity and direction | Surface, visibility and permitted position |
| Check-in | Where to register and what to prepare | Counter, queue and local instructions |
| Internal route | Rooms, activities and service points | Consistent names and readable direction |
| Main activity | Relevant offer or event message | Backdrop, faces and working-space layout |
| Changes | Updated room or schedule information | A practical graphic-replacement method |
Keep attendee identification as a related requirement
Where wristbands or lanyards are needed, specify their identification or access role separately from the venue displays. See WristbandFactory for the related range. Keep quantities, versions and operating requirements on their own order lines.
Use shared approved colours and wording where appropriate, but do not assume that a display-print template applies to another product. Attendee identification items and physical venue graphics may follow different artwork, production and delivery specifications.
Prepare for information changes
Identify which messages could change and who can replace them. A room change, schedule revision or queue instruction should not require altering an expensive main graphic. Use suitable replaceable formats for local information and keep approved update files accessible to the responsible team.
Label each graphic with its position and version. For several venues or dates, link the local wording to a location code rather than relying on a general folder of artwork. Include the required hardware and fixing in the position list so a correctly printed message is not left without a display fixture.
Approve one connected event specification
Review the site plan, display list, artwork versions and arrival dates together. Confirm which components are reused and which are supplied with the order. Ask for any installation, separate delivery or other service explicitly in the quotation.
Utilice el Lista de verificación de obras de arte de gran formato for display files and the Lista de verificación breve para la presentación de la exposición for complete kits. Send the event route, planned positions, quantities, required arrival date and delivery country when asking for help with the Display Systems range.
Lista de verificación de trabajo
Utilice estos encabezados para revisar su informe. Registre la referencia del producto, las cantidades, la versión del archivo aprobada y la fecha de recepción junto al punto correspondiente.
- Check the approach and entrance
- Give check-in a clear location and role
- Map the information points inside the venue
- Assign the main backdrops and photo positions
- Keep attendee identification as a related requirement
- Prepare for information changes
- Approve one connected event specification
Descarga la lista de verificación
Lista de verificación en texto plano para las notas de su proyecto. La guía completa permanece legible en esta página.